
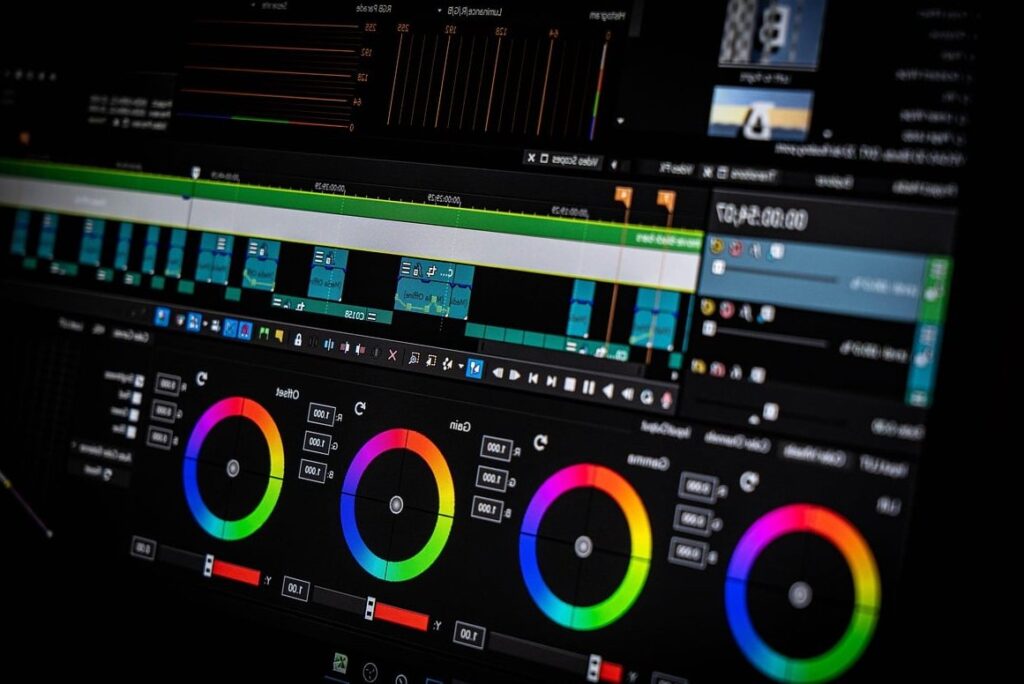
If you shoot weddings, product catalogs, or any high-volume session, you already know that editing photo by photo is a productivity killer. The good news: Lightroom was built for volume. In this guide, we walk you through how to batch edit photos in Lightroom using a real-world workflow, focusing on the tools that actually matter when consistency is non-negotiable.
Instead of the usual copy/paste tutorial, we will show you how to combine Sync Settings, Auto Sync, and Smart Collections so you can move through 500 or 5000 images without losing your visual signature.
Why Batch Editing Matters (Especially for Weddings and Product Shoots)
Batch editing is not just about speed. It is about visual consistency. A wedding gallery where the reception photos look warmer than the ceremony, or a product catalog where the whites shift between shots, will make your work look amateur, no matter how sharp your composition is.
- Wedding galleries: hundreds of images shot in changing light conditions that must feel cohesive.
- Product shoots: identical white balance, exposure, and background tone across every SKU.
- Event coverage: quick turnaround with a unified look across the full deliverable.

Step 1: Cull and Group Before You Edit
The biggest mistake photographers make is editing before grouping. Batch editing only works if the images inside the batch share similar lighting conditions.
- Import your session into Lightroom Classic.
- Use Flags (P for pick, X for reject) to cull the shoot.
- Group your picks by lighting scenario: getting ready, ceremony, golden hour, reception, and so on.
- Assign a color label to each group so you can filter them instantly.
Step 2: Edit Your Anchor Photo
Every batch needs an anchor: the reference image you will edit manually and then propagate to the rest.
- Pick a well-exposed photo that is representative of the scene lighting.
- Work through white balance, exposure, contrast, color grading, and lens corrections.
- Apply noise reduction and sharpening last, since they can differ per image.
Pro tip: Save this edited look as a User Preset so you can reuse it on future shoots with similar lighting. There’s a good explainer over at adobe.com.
Step 3: Sync Settings Across Multiple Photos
This is the core method for batch editing in Lightroom Classic.
- In the Develop module, select your anchor photo in the filmstrip.
- Hold Ctrl (Windows) or Cmd (Mac) and click each additional photo you want to sync. To select a range, hold Shift.
- Make sure the anchor photo remains the most highlighted (brighter frame).
- Click the Sync button at the bottom right of the Develop panel.
- In the dialog, check only the settings you want to copy. Uncheck things like Crop, Spot Removal, and Local Adjustments unless they truly apply to every photo.
- Click Synchronize.
What to Sync and What to Skip
| Setting | Sync? | Why |
|---|---|---|
| White Balance | Yes | Consistency across the batch |
| Tone (Exposure, Contrast) | Usually yes | Check per image afterwards |
| Color Grading / HSL | Yes | Defines your signature look |
| Lens Corrections | Yes | Same lens, same profile |
| Crop | No | Framing differs per shot |
| Spot Removal | No | Sensor dust is fine, subject spots vary |
| Masking / Local Adj. | Rarely | Position and subject change |

Step 4: Use Auto Sync for Live Batch Editing
Auto Sync is the shortcut that most photographers underuse. Instead of editing one photo and then syncing, Auto Sync applies your adjustments to every selected photo in real time.
- Select multiple photos in the filmstrip (Shift or Cmd/Ctrl click).
- Toggle the small switch to the left of the Sync button. It should now say Auto Sync.
- Any slider you move will apply to all selected images at once.
This is perfect for product shoots where you want to nudge exposure by +0.3 on all 40 shots of the same SKU without clicking Sync every time.
When to Use Sync vs Auto Sync
- Sync: when you have already finished editing the anchor and want to push those exact settings.
- Auto Sync: when you are still experimenting and want to see live results on the full group.
Step 5: Use Smart Collections to Speed Up Future Sessions
Smart Collections auto-populate based on rules you define. For batch editing workflows, they are gold.
- Go to the Library module.
- In the Collections panel, click the + icon and choose Create Smart Collection.
- Define rules like:
- Camera model equals your body
- ISO greater than 3200 (for indoor reception batches)
- Keyword contains “ceremony” or “product-white-bg”
- Color label equals red
- Save it.
Now every time you import similar photos, they automatically drop into the right collection, ready to be batch-edited with your preset. There’s a good explainer over at skylum.com.
Useful Smart Collections for Weddings
- High ISO Reception: ISO greater than 3200, needs noise reduction preset
- Golden Hour Portraits: capture time between 6pm and 8pm
- Detail Shots: focal length above 90mm, macro presets
Useful Smart Collections for Product Shoots
- White Background SKUs: keyword “white-bg”
- Lifestyle Shots: keyword “lifestyle”
- Rejects Awaiting Review: flag equals rejected
Step 6: Refine Individual Images After Batch Editing
Batch editing gets you 90% of the way. The last 10% is per-image polish.
- Scroll through the batch and adjust exposure per image where needed.
- Fix skin tones or product colors that drifted.
- Apply local masks (subject, sky, background) only where necessary.
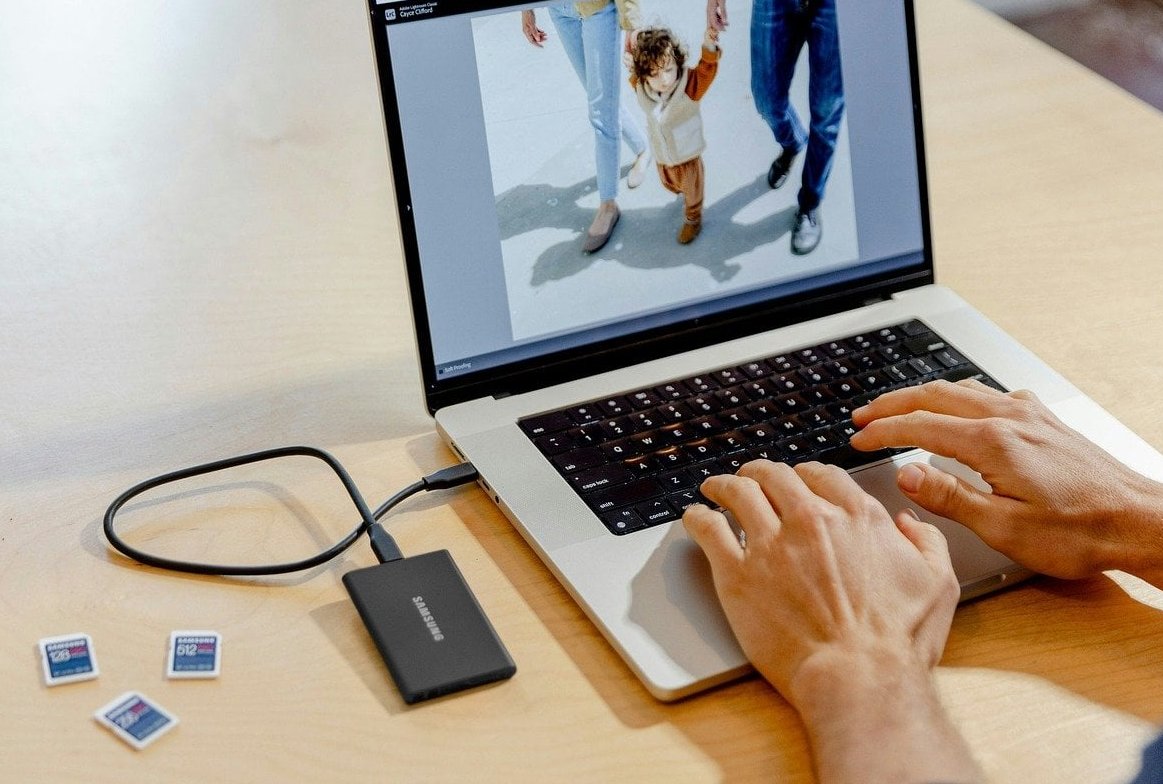
Bonus: Presets vs Sync, What’s the Difference?
| Method | Best For | Limitation |
|---|---|---|
| Preset | Applying a saved look to any shoot | Not shoot-specific, needs adjustments |
| Sync | Copying anchor edits to similar shots | Only works session by session |
| Auto Sync | Live editing on multiple photos | Easy to forget it is on |
Common Mistakes to Avoid
- Forgetting Auto Sync is enabled and accidentally overwriting edits on other selected photos.
- Syncing crop or spot removal across images that do not need it.
- Skipping the culling step, which forces you to edit rejects.
- Batching photos from different lighting scenarios together.
FAQ
Can I edit multiple photos at once in Lightroom?
Yes. Select multiple photos in the filmstrip while holding Shift or Cmd/Ctrl, then use the Sync or Auto Sync feature in the Develop module to apply edits across all selected images at once.
How do I edit 100 photos at once in Lightroom?
Edit one anchor photo, select all 100 photos in the filmstrip, click Sync, then choose which settings to apply. For live editing, toggle Auto Sync and adjust sliders while all 100 are selected.
Is there a way to auto edit all photos in Lightroom?
Yes. You can apply an Auto Tone preset on import, or select all photos and press the Auto button in the Basic panel of the Develop module. For consistent results, combine this with your own preset.
Does Lightroom have AI batch editing?
Yes. Lightroom includes AI-based features such as Denoise, AI Masking (subject, sky, background), and Adaptive Presets. These can be part of your batch workflow, but AI masks are best applied per image since the subject differs. There’s a good explainer over at nickdalephotography.com.
Can I batch edit in Lightroom Mobile?
Yes. In Lightroom Mobile, edit one photo, tap the three-dot menu, choose Copy Settings, then select the other photos and choose Paste Settings. It is less flexible than Classic but works well for quick edits on the go.
What is the difference between Sync and Auto Sync in Lightroom Classic?
Sync applies your current edits to selected photos when you click the Sync button. Auto Sync applies every slider change in real time to all selected photos as you make them.
Final Thoughts
Mastering batch editing in Lightroom is what separates a hobbyist workflow from a professional pipeline. Combine a clean culling process, a strong anchor edit, smart use of Sync and Auto Sync, and well-defined Smart Collections, and you can cut your editing time by more than half while keeping your gallery visually cohesive.
Whether you are delivering a 1200-image wedding gallery next week or preparing a 300-SKU product catalog, this workflow scales with you.